
Catio
Table of Contents
The Idea
We have an indoor cat, and he is harness trained and enjoys going for walks around the yard (mainly to eat grass), but he also enjoys having the sliding door open so he can smell All The Smells™ through the screen. While this is great for him, it’s less great during cold, rainy, or hot weather when I’d prefer to have that door closed.
I’ve seen catios around the internet before, but I didn’t feel comfortable paying for some flimsy plastic contraption that I could someday regret (longevity, safety, value). Now, I haven’t gotten my workshop setup yet, so I needed a plan that was a compromise between fully custom and catio-in-a-box.
The Requirements
- Be safe
- Needs to keep out other animals
- Needs to provide shelter from the elements
- Allow easy access for emergency extraction
- A scared cat is not a fun cat
- Be modular
- Allow easy cat access
- Look nice
Research
Browsing Reddit, I ran across a post that a user linked to. That person had the idea to repurpose some furniture from Ikea. I thought this was great, especially when you look around and find that some of their things are actually quite nice and solid wood.
I settled on the IVAR collection of shelves to base my design on. It’s solid pine, comes pre-sanded, and has a whole bunch of pre-drilled holes for being able to place shelves in any position.
I decided to get three tall shelf ends, a bunch of shelves, two cross braces, and two of the smaller shelf ends. These last two I wanted to turn into a door to be able to get the cat out more easily. I used one for the door itself and another as parts for a doorframe.
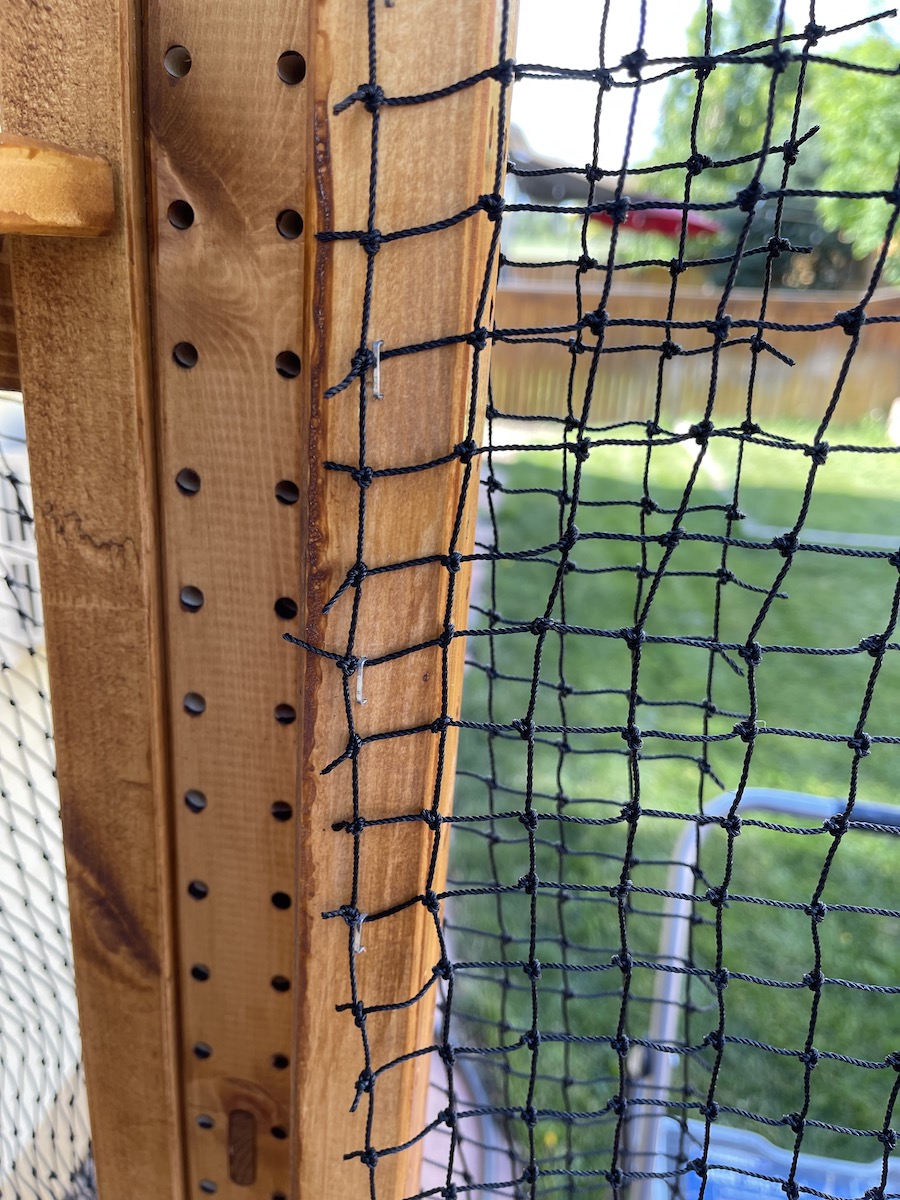
The other question was how to enclose everything. I could use screening material, but the square footage I would need and the current prices turned me off on this. I was against chicken wire or other metal-based enclosures mainly because in the afternoon sun they would become much too hot for a cat making regular contact with it. I eventually settled on a product from MeowSafe. It’s made of nylon and has a decent amount of stretch to it.
The Build
The first thing was to figure out was the door situation. Laying out the parts in the basement, I was able to outline how I wanted the door to be framed and where to cut the wood.

Seeing as this would be living outside, it was imperative that this also be weather resistant. I found a nice looking stain and sealant and proceeded to start that process outside.
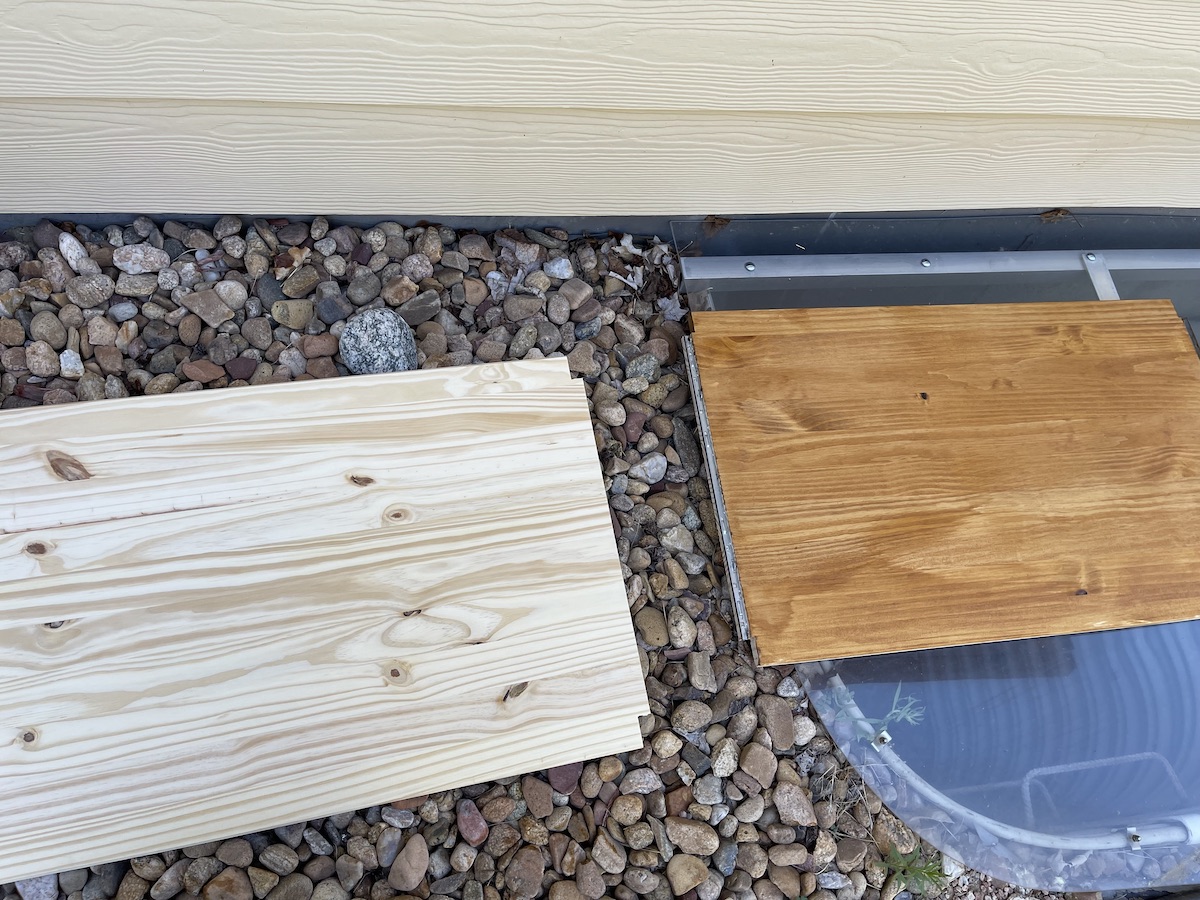
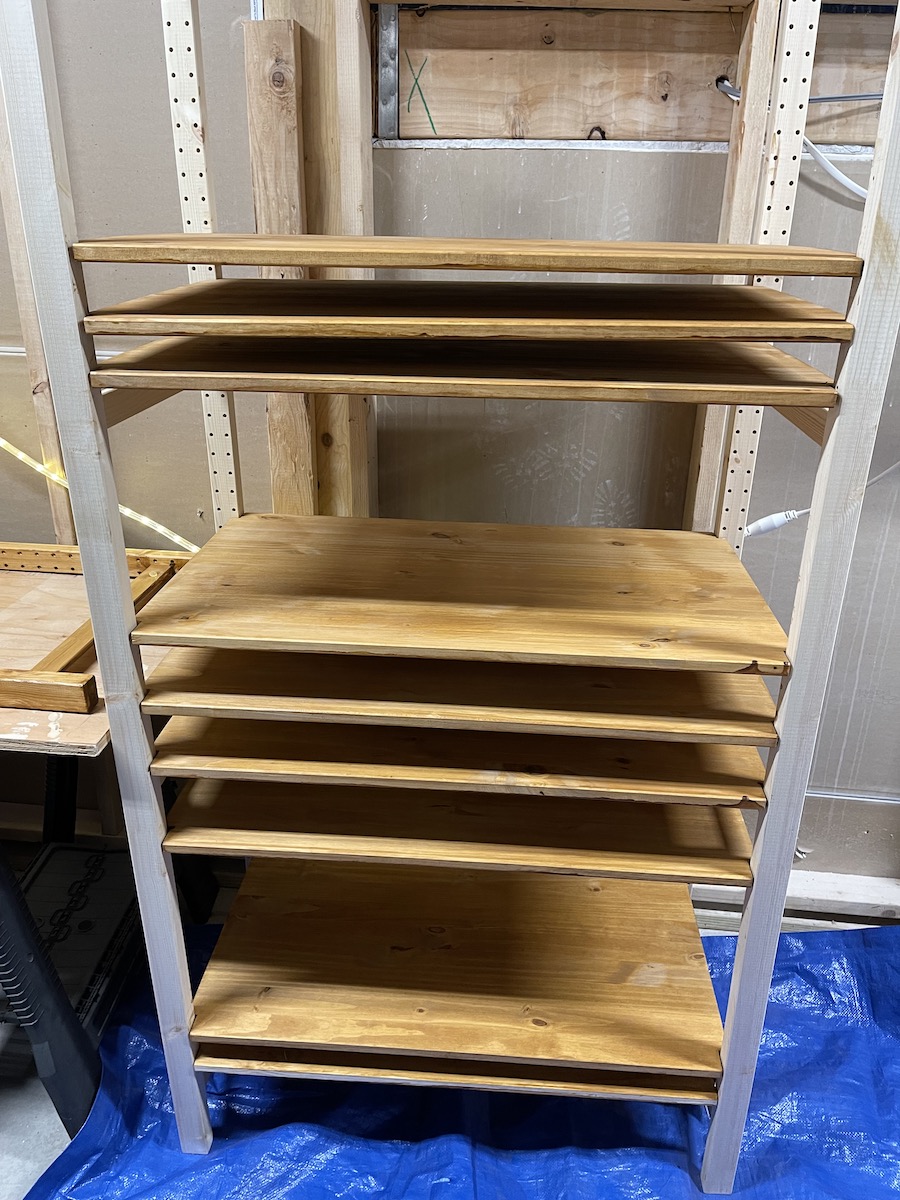
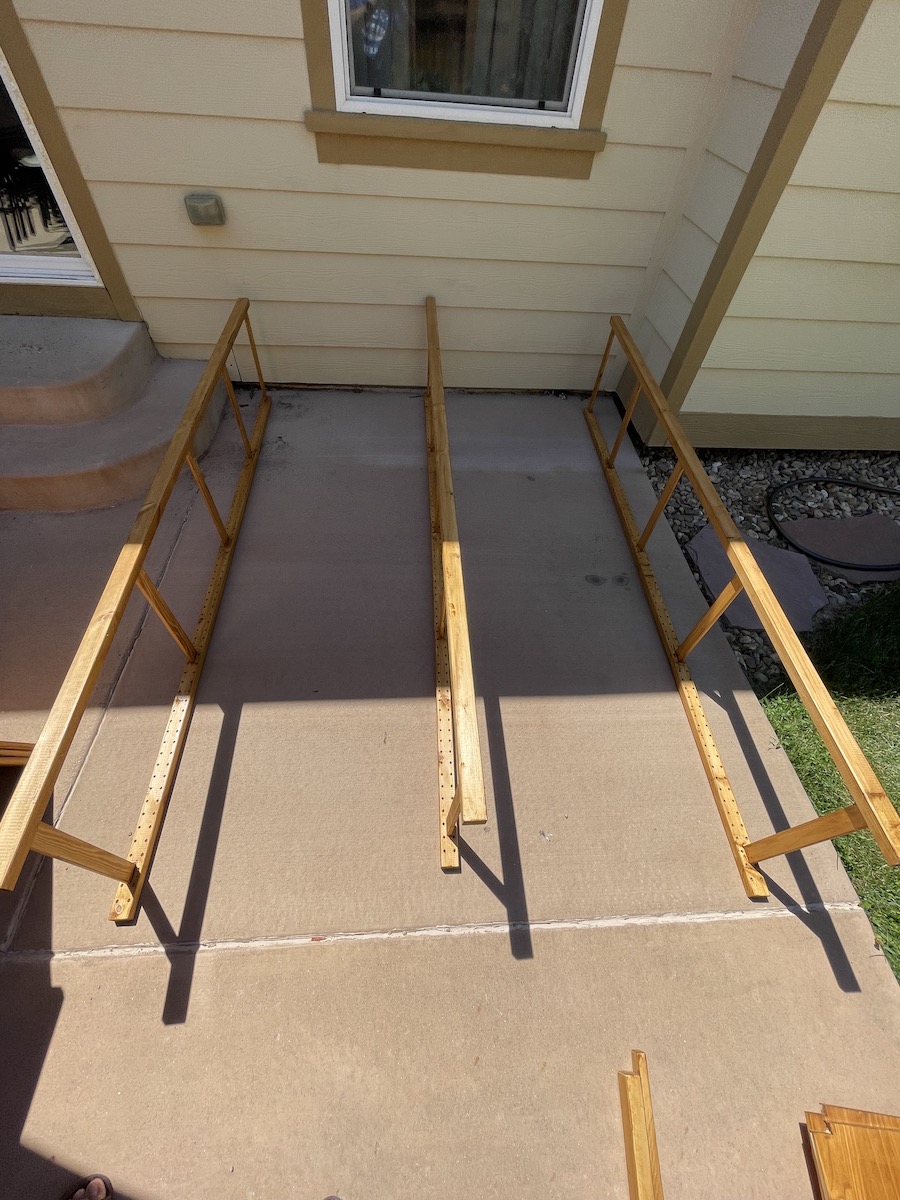
It was slower going than I realized, so after the first pass on the top side of the shelves and door, I moved the production inside where I was able to stage the staining to make an assembly line and use the taller ends as a makeshift drying rack.
I initially started out the staining process using a three inch paintbrush thinking that it would speed things up, but it was difficult to wield on the sides of the shelves and the end pieces.
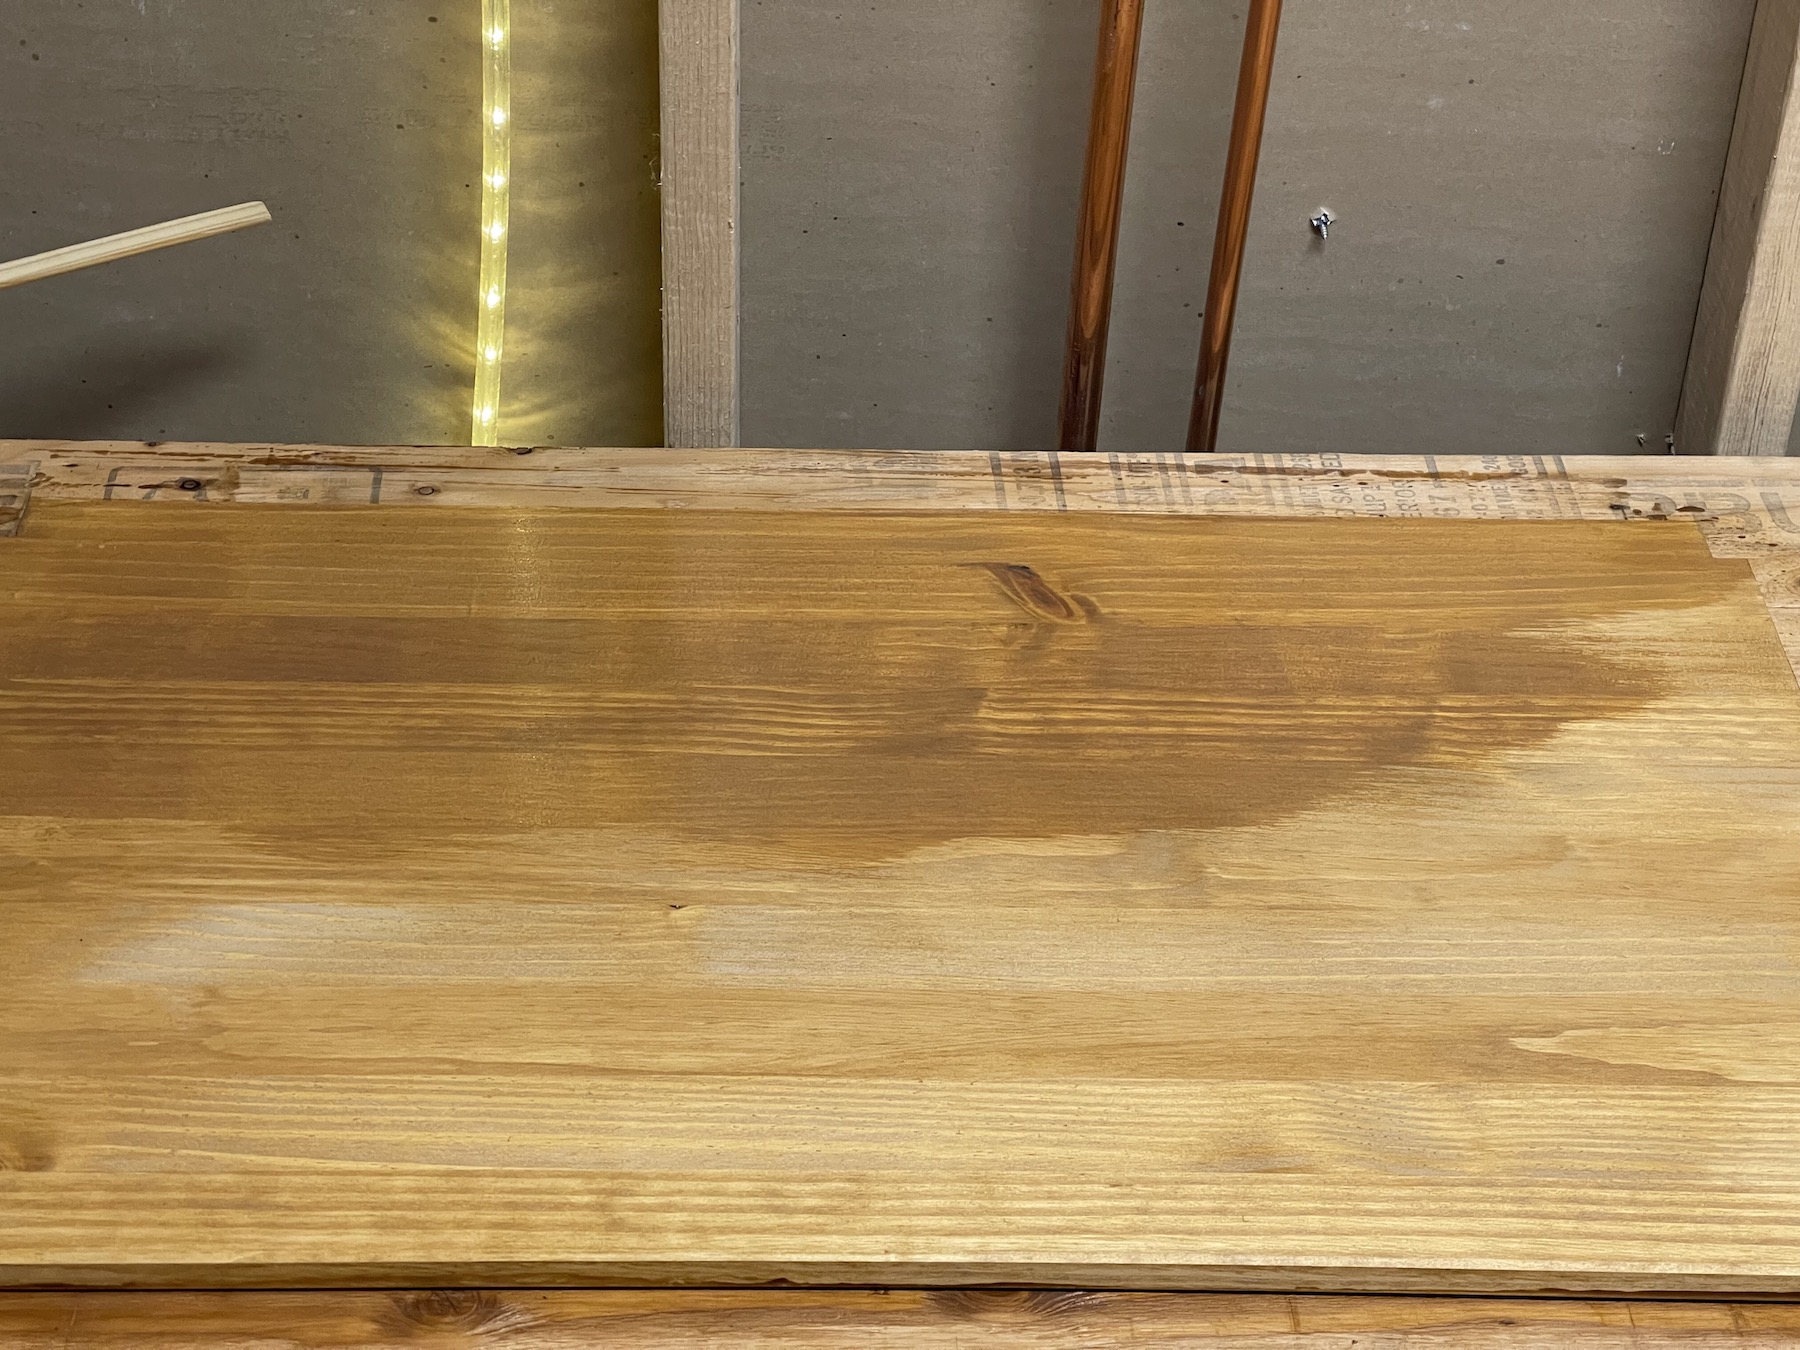
Second coat of stain and sealant in progress.
I mentioned this to my Father, who provided a really great tip - use an old cloth or shirt while wearing gloves and spread it on this way. It was about four times faster!
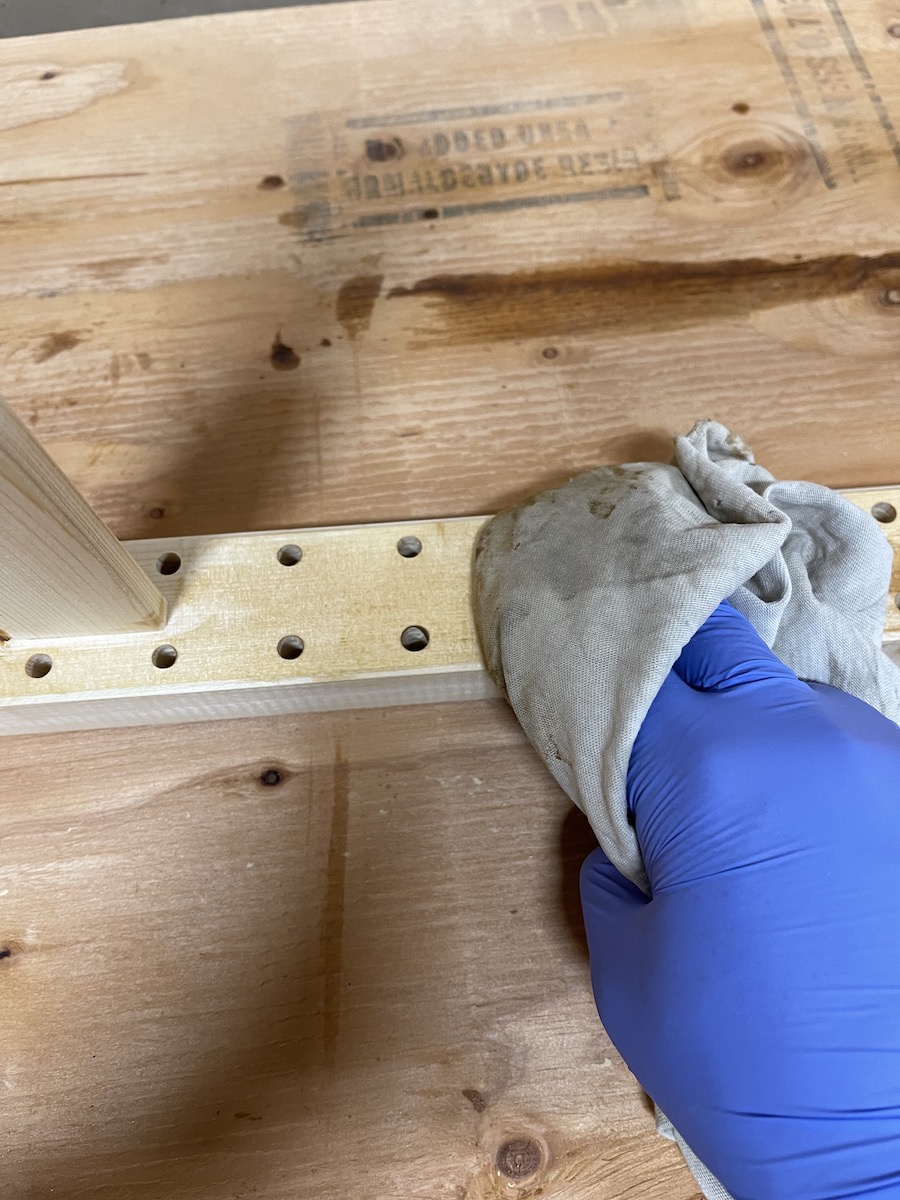
With age comes a staggering amount of tips.
Assembly
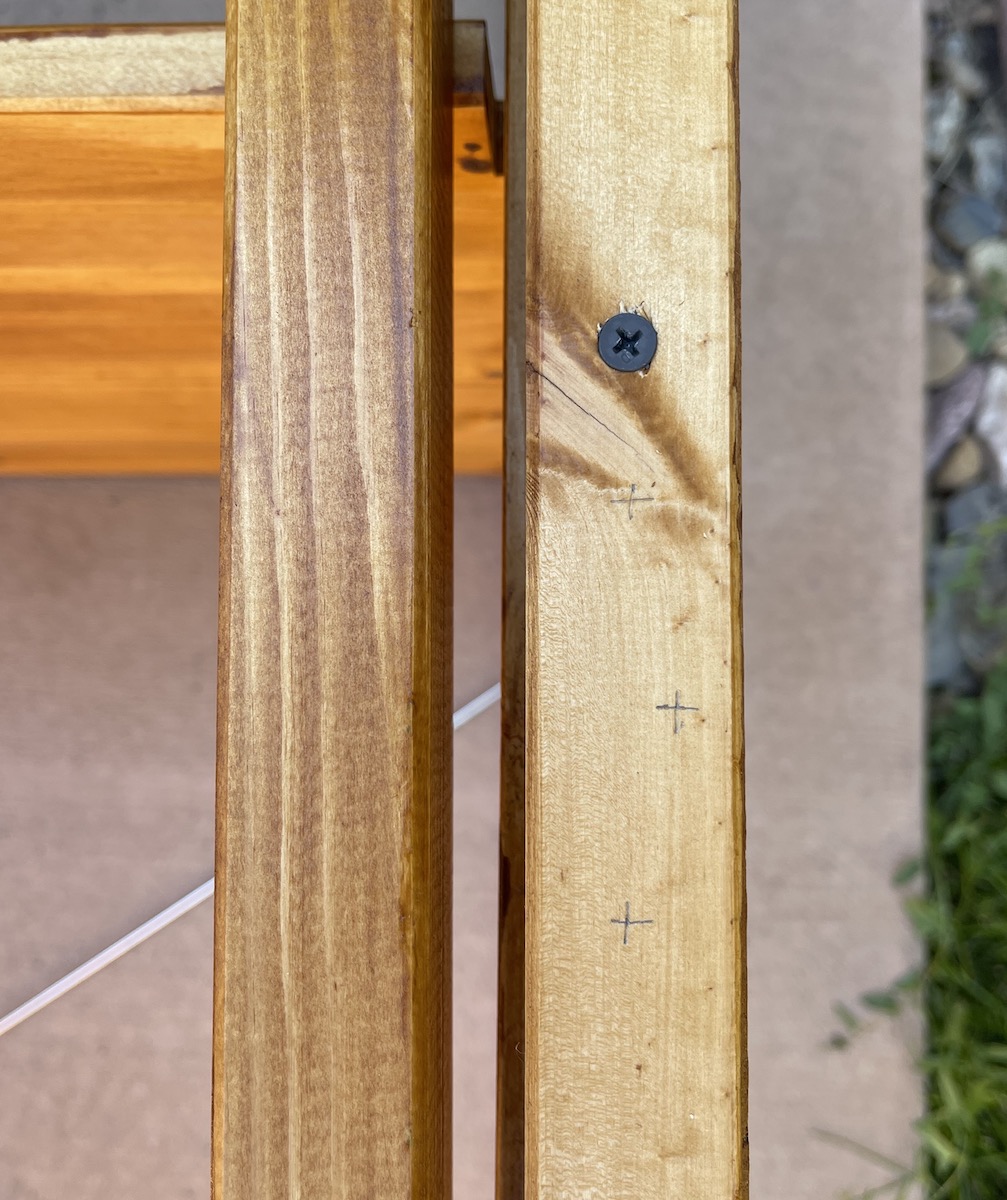
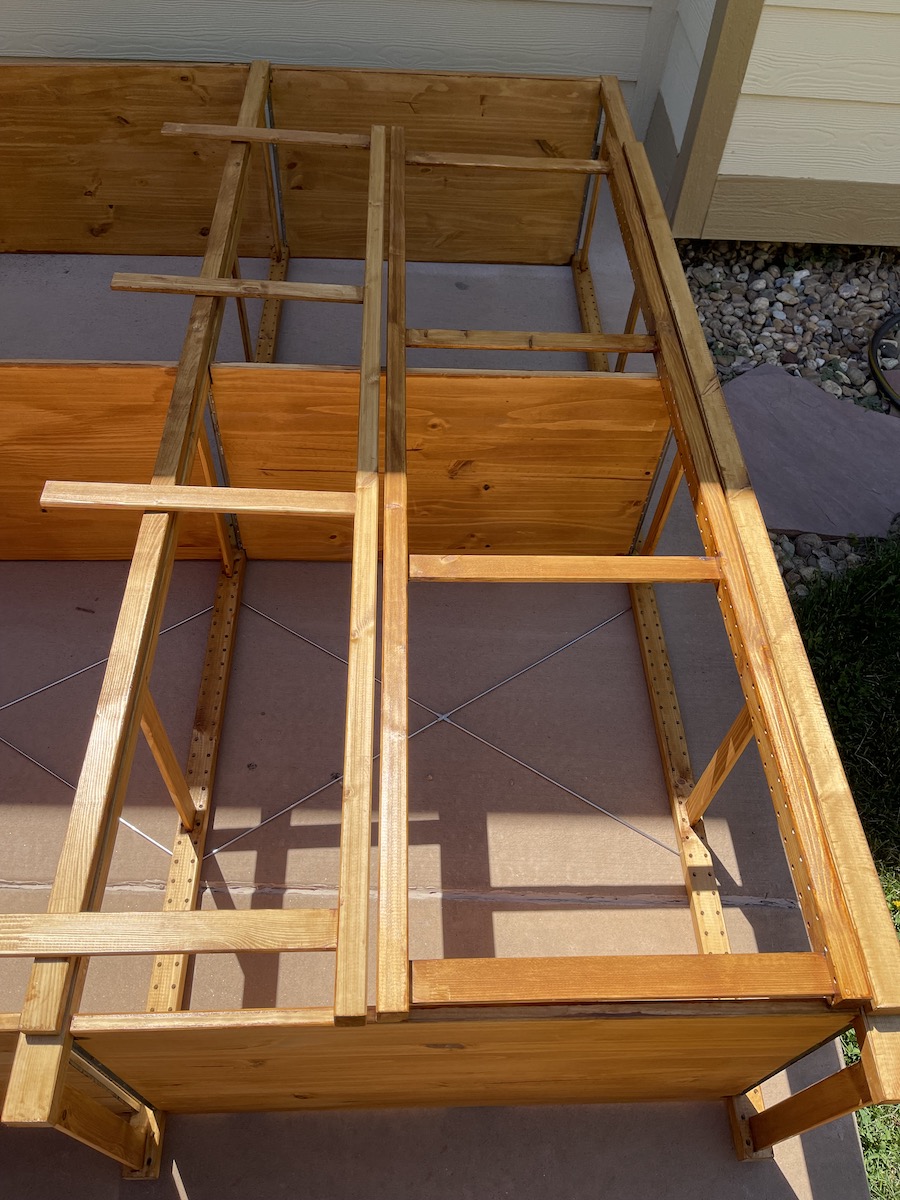
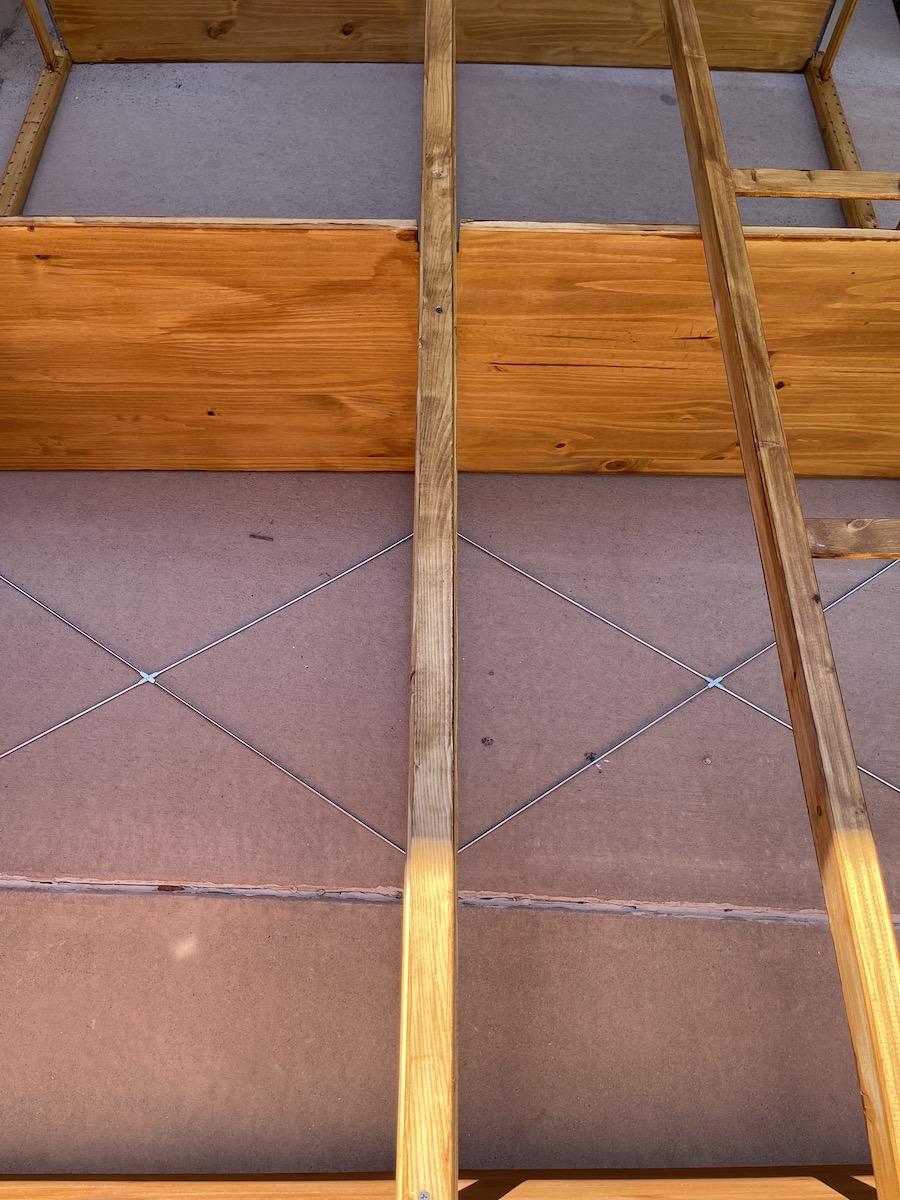
Once everything was stained and sealed (with two coats - I used about a half gallon), I moved all pieces outside to start framing it all out. First was to re-verify that the measurements I took before I started would fit into the space I planned on placing it. I chose a window in the back so we could encapsulate the catio on three sides and simply open the window when the cat wanted to go out (or come in).
In order to build the door, I first needed a square and steady base; some initial and not-final placement of the shelves helped with this.
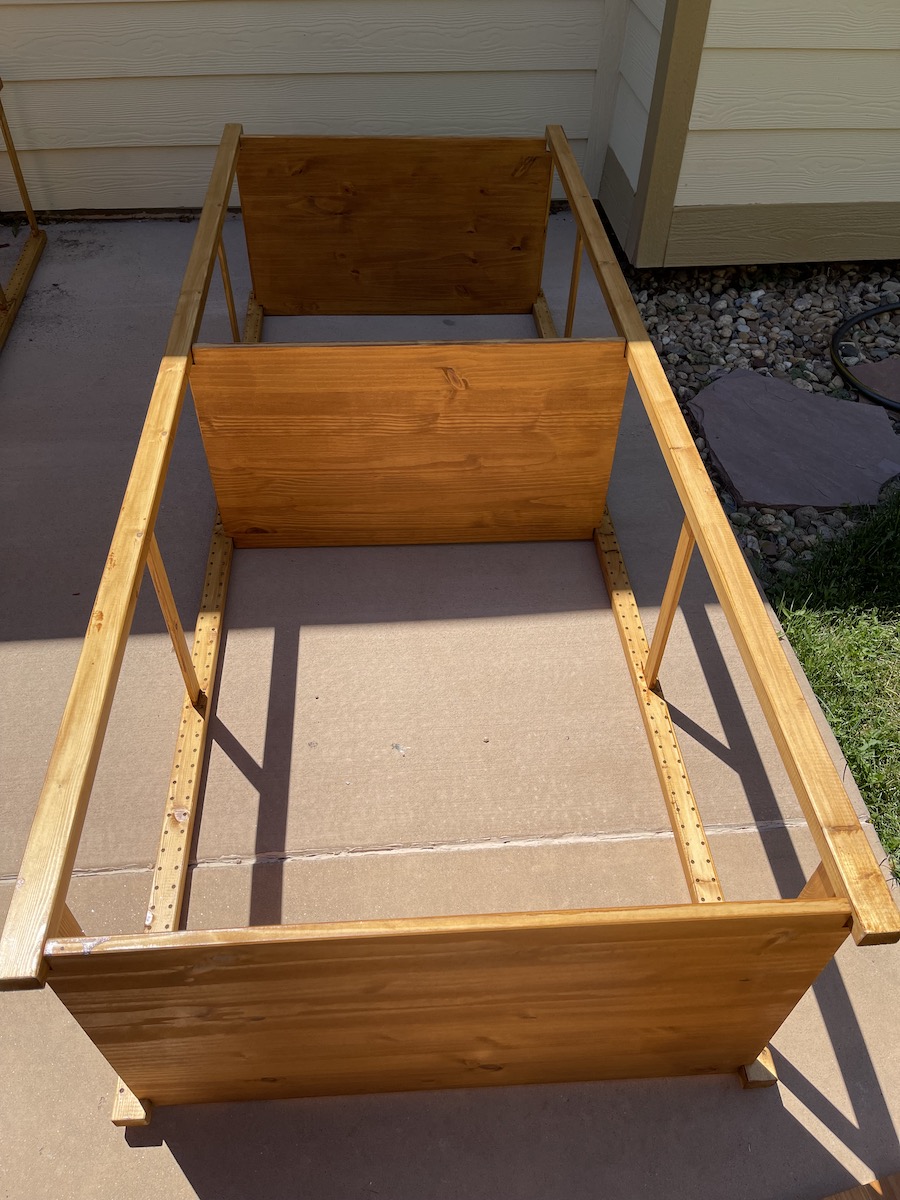
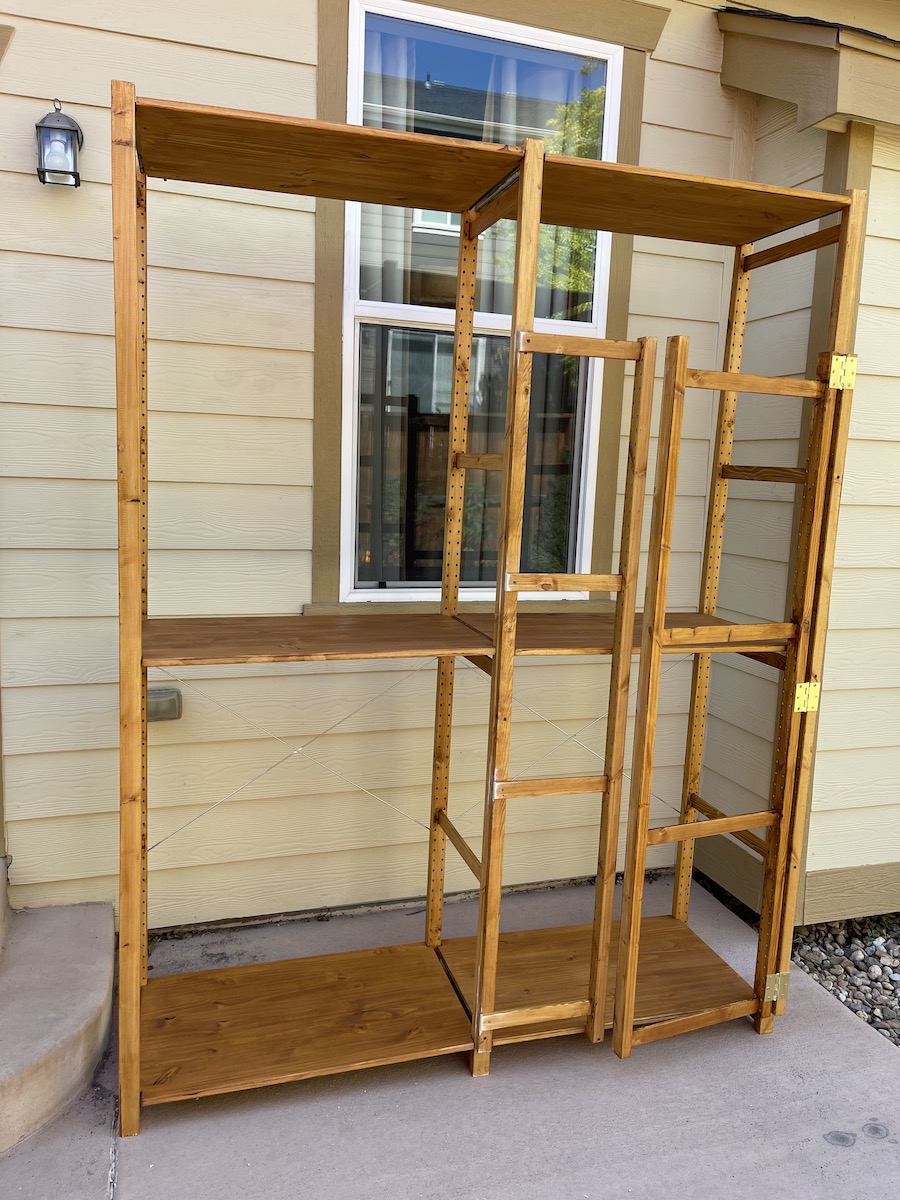
I repeated the process on the other side and stood the unit up to start leveling it out and then lock it in place with the cross supports.
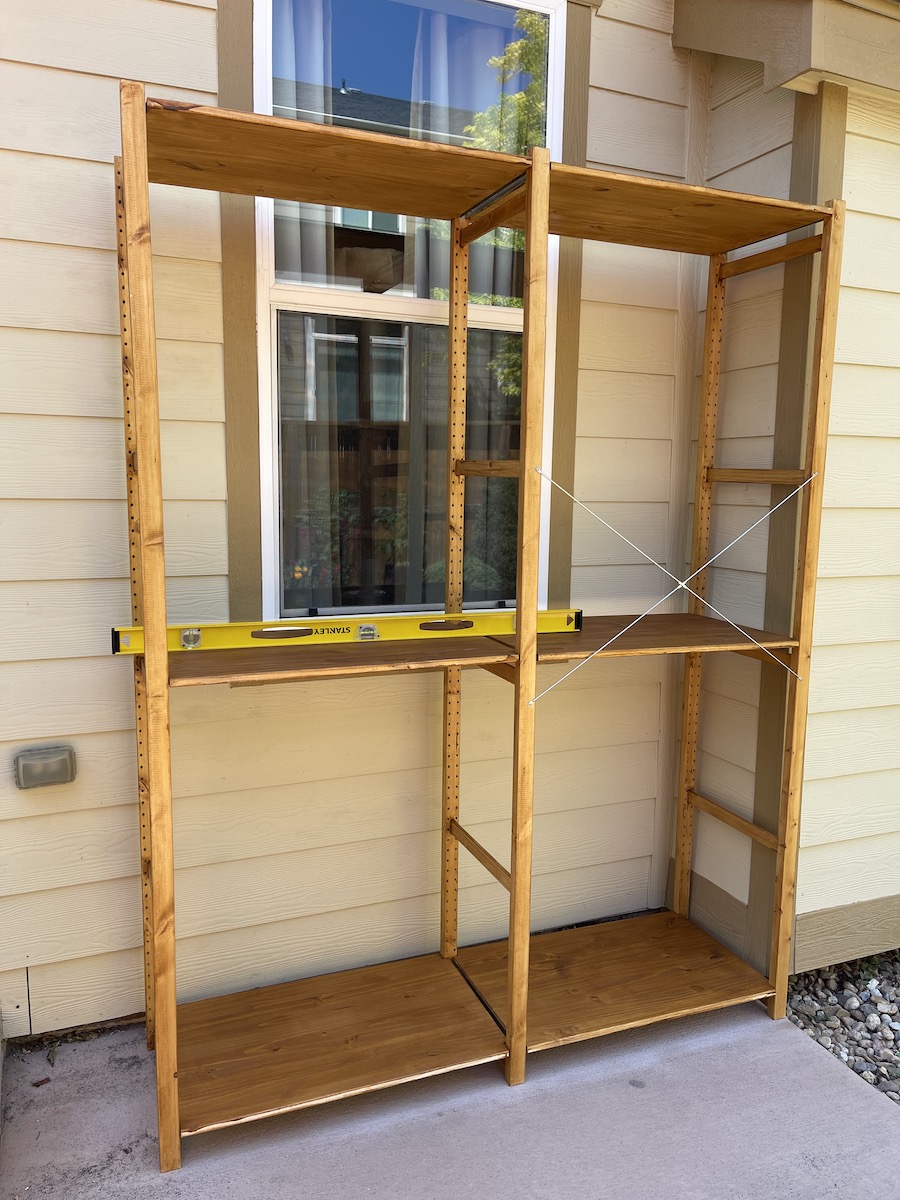
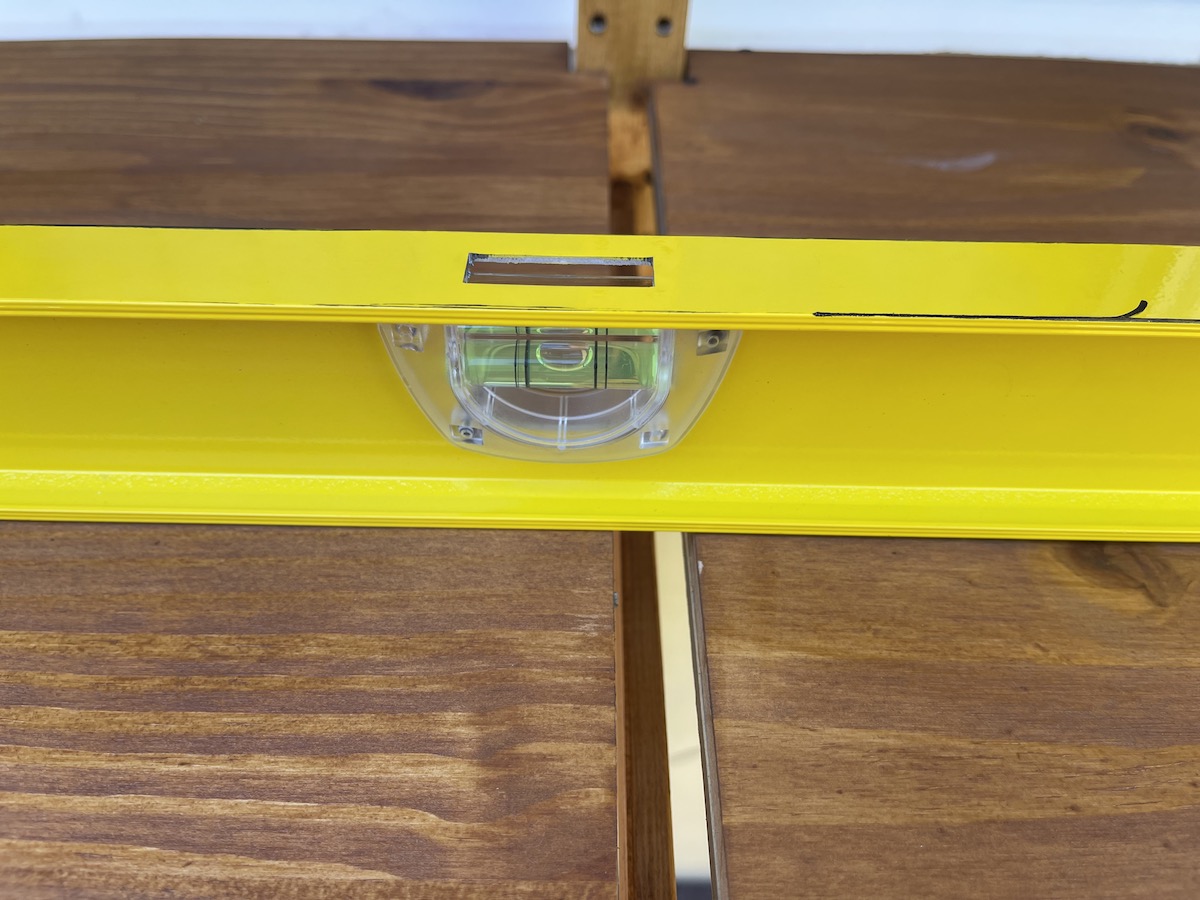
Measure twice!
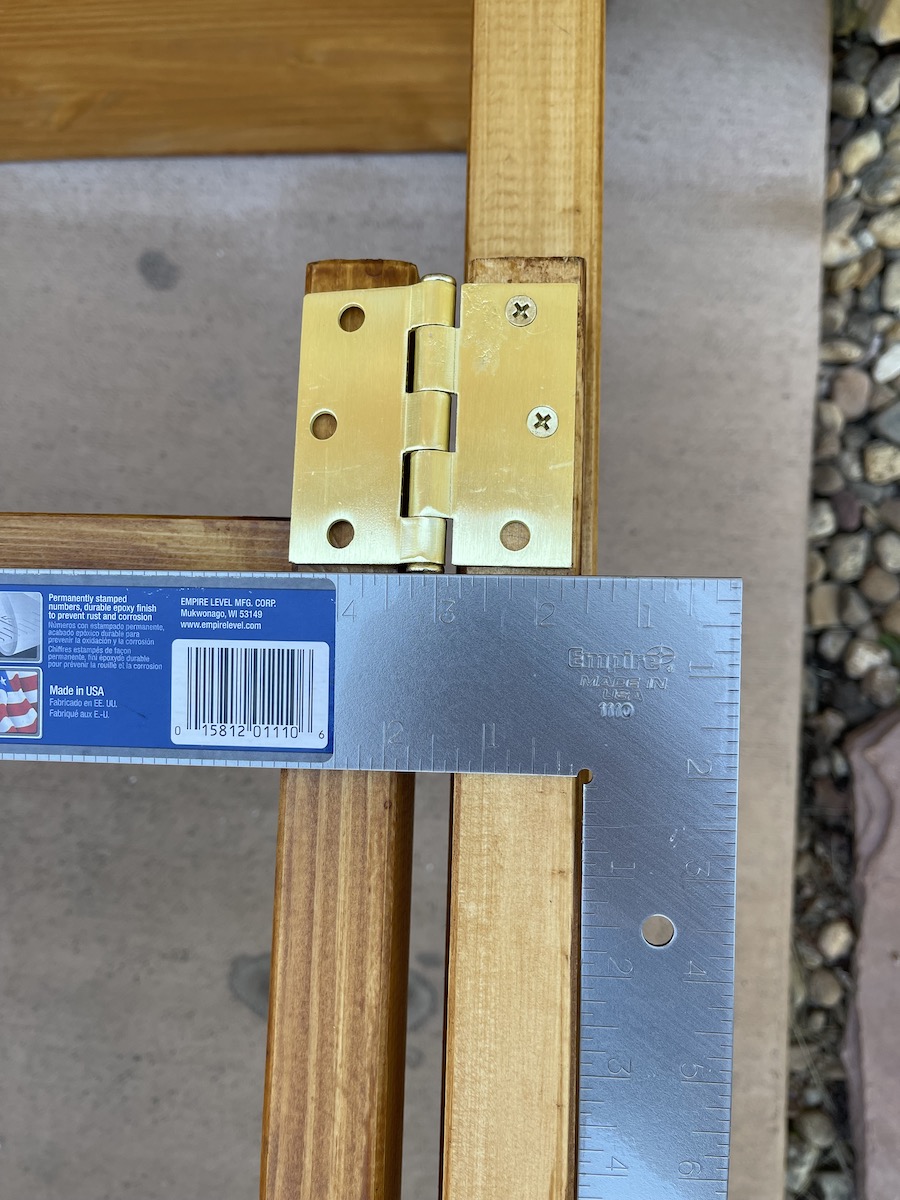
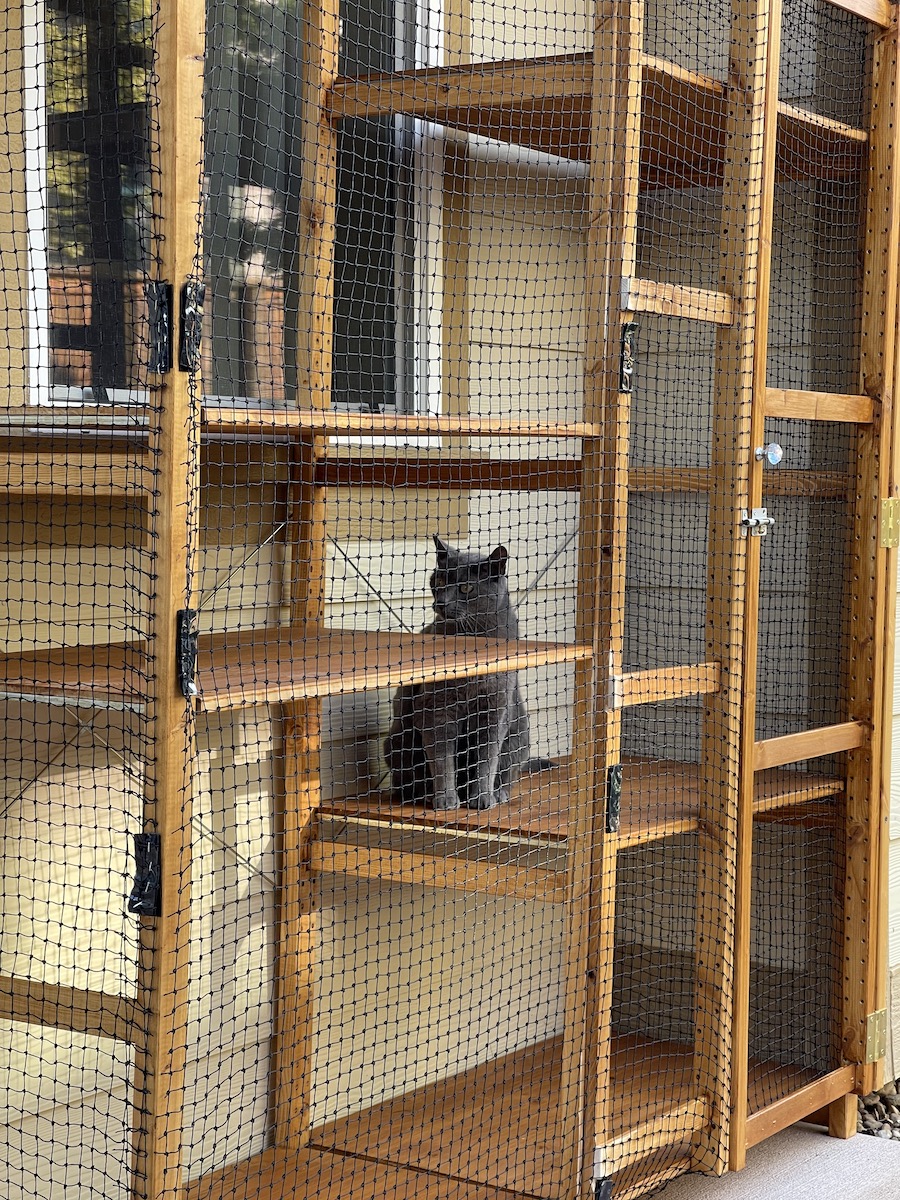
Now that we were all square and secure, it was time to actually build the door. Rough placement of the pieces allowed for any final visual checks to take place. Before staining, I had cut the second smaller end right where the wooden lateral pieces went into the second vertical post. This gave me one post with slats and one without. I used the piece without slats as a way to mount the door hinges at the same height as the second end piece acting as a door.
I used the other piece with slats mounted to the middle section to be able to mount a locking latch. I did end up finding some spare lumber in the basement to also lift this section to the same height as the door, but a 1x2 cut to the same length as the door would do just as well.
The door being outlined, I set to making sure that the door was spaced evenly top-to-bottom from the frame and that the hinges were level with the assembly as a whole. I utilized a set square to aid in this effort.
I then repeated the process on the other side to make sure the locking frame was evenly spaced.
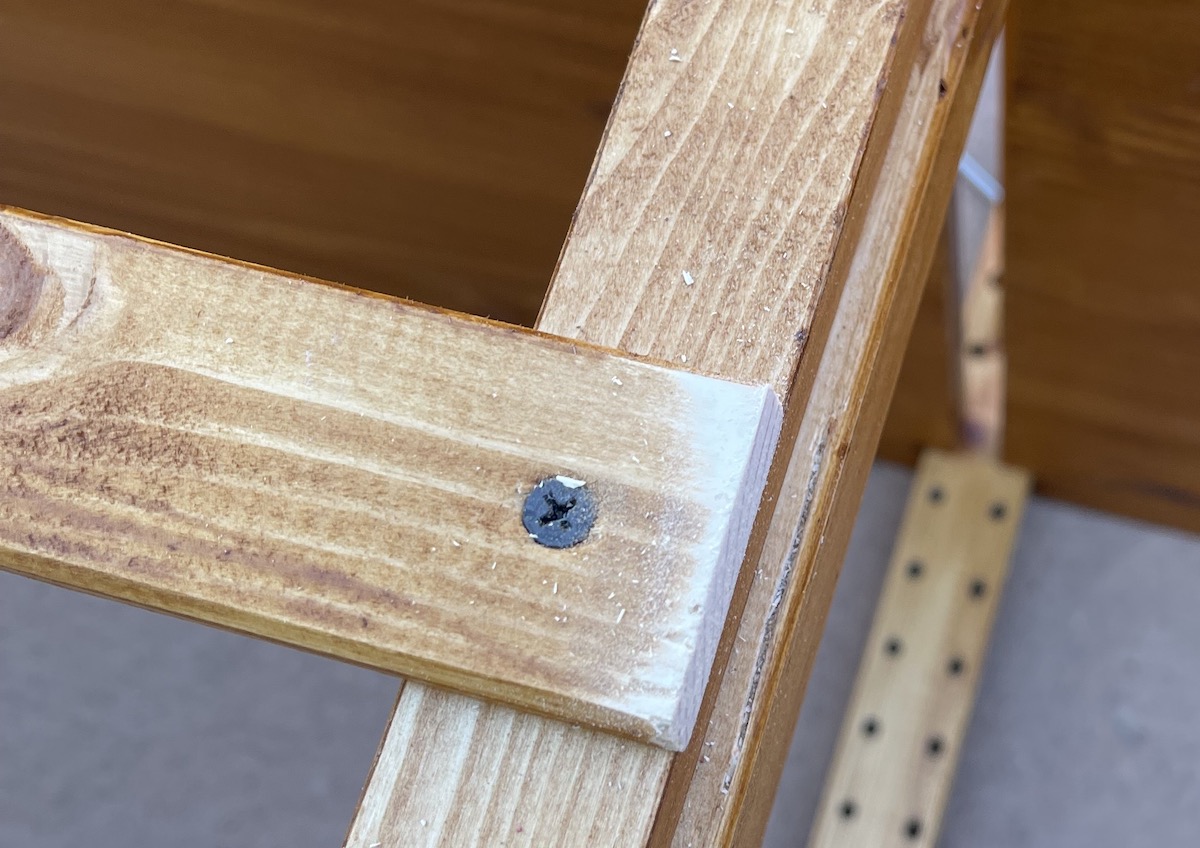
If you refer a few images up, you’ll notice that the horizontal slats are overhanging the center section. I opted to leave these longer pre-mounting since I didn’t know quite exactly the spacing (no, I did not use CAD for this design. I’m an EE after all; I have standards). Once both the door and the locking frame were mounted, I used a jigsaw to cut the excess off in situ.
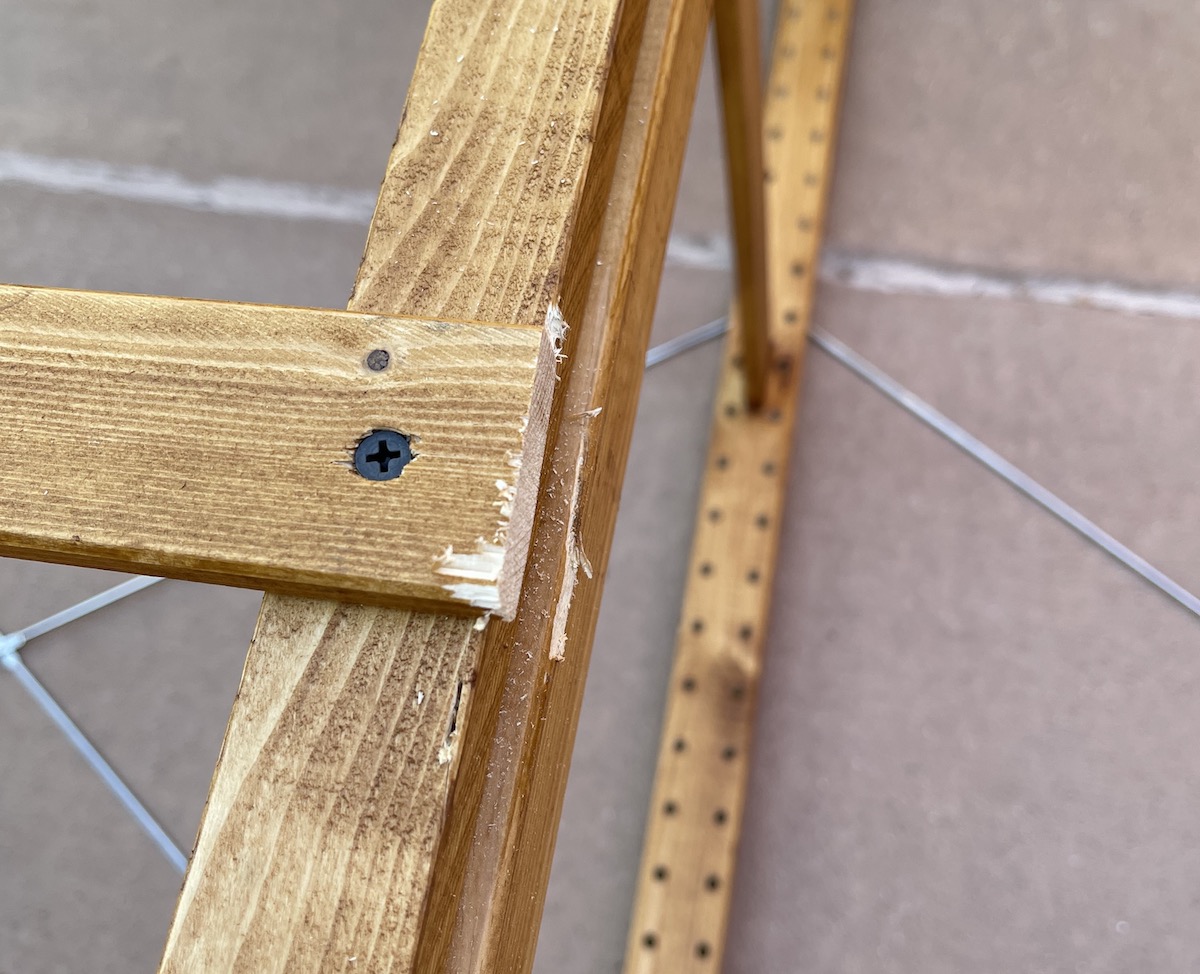
To reduce the likelihood of splinters, I sanded the ends at this time. I also dabbed more stain on.
We now have the assembly mostly done! I stood the unit back up so that I could work on the door handle and the lock.

A fancy door handle for a fancy (spoiled) cat.
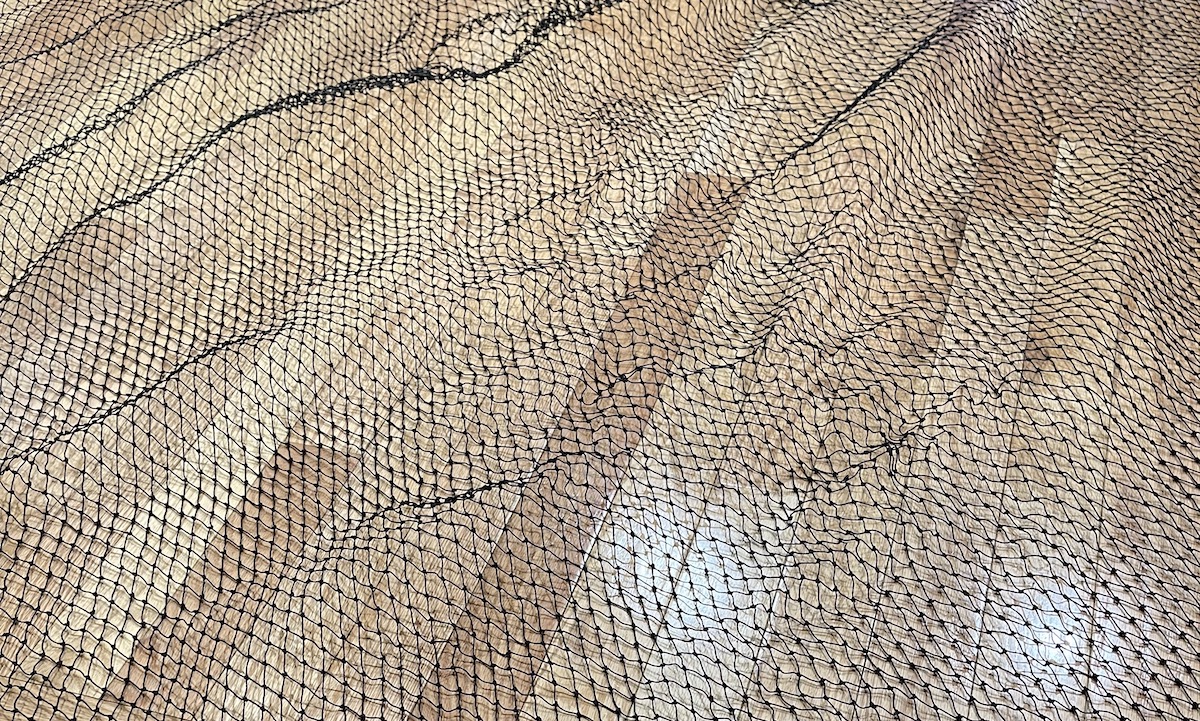
The last part was the netting. I stapled the sections (and the door) that would be against the house or not readily useful for extraction.
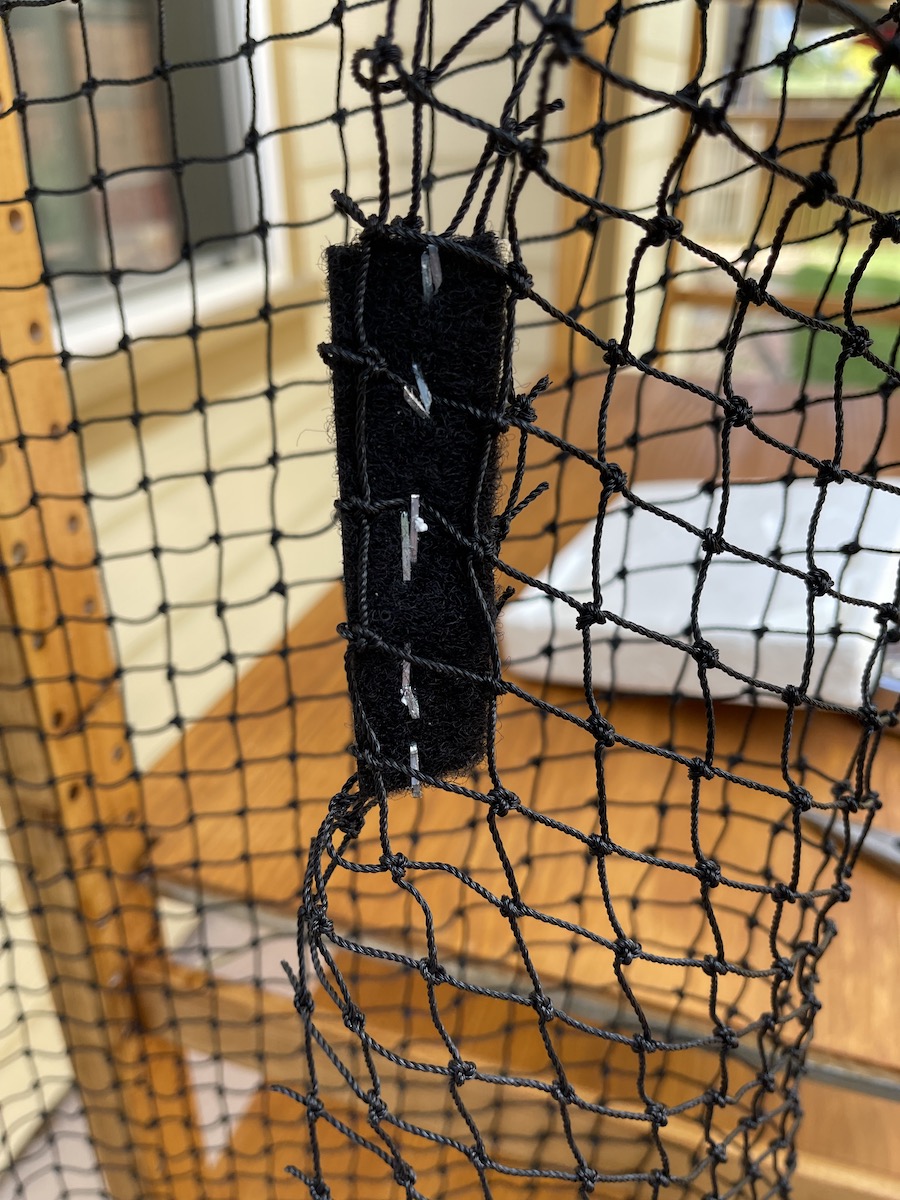
I then had to come up with a way to make the mesh secure yet removable. I had gotten some industrial Velcro to see if this would work. As you’ll see, it did. Mostly.
I stapled the hook part to the frame and came up with a way to fold the mesh back over itself and onto the fuzzy part. I then stapled this into a piece of styrofoam that the staple gun came in. This allowed me some resistance to the gun while stapling into something that wouldn’t get damaged and allow to pull the piece out without tearing anything. I used some needle-nose pliers to fold the ends of the staples back on themselves to lock it all in place. And then I repeated that whole process a bunch…
SAT for the Cat
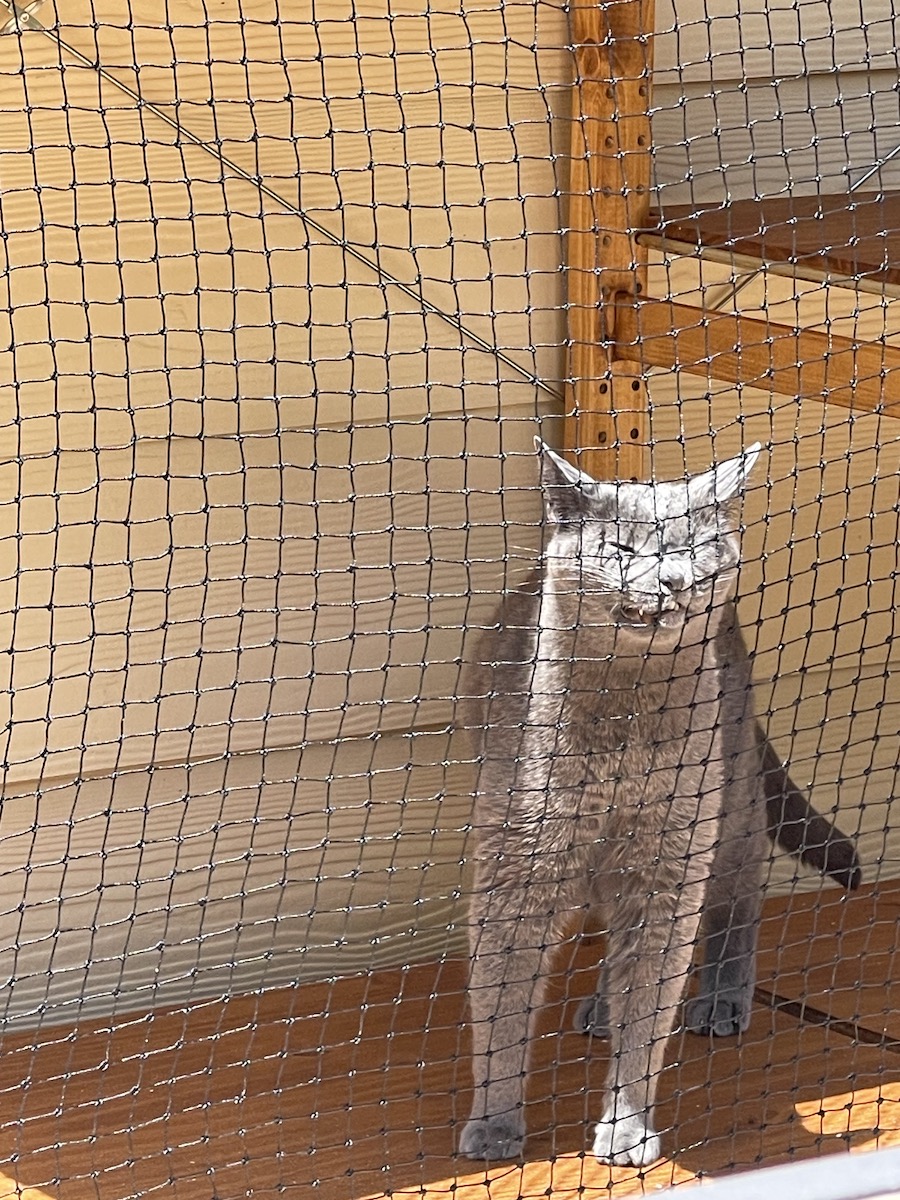
And finally, to test!
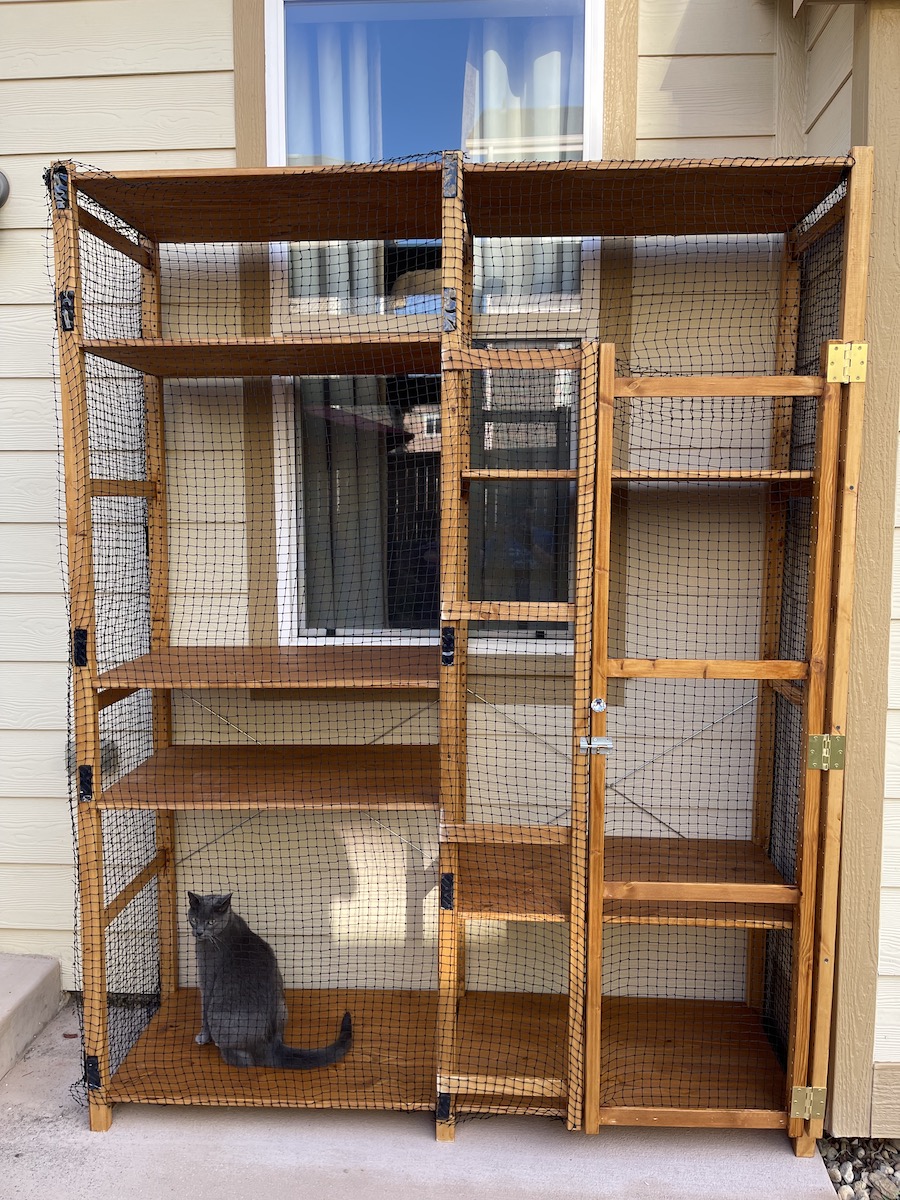
Overall it went quite well. The usual ‘what is this’ aura of a cat in new places was present, but I am happy to report that a week in he’s begging to go out.
Improvements & Future Revisions
During Site Acceptance Testing, an unintended user action initially caused some worry. As it turns out, the center points of the mesh feel pretty good on fuzzy cheeks, and our cat started to really get into rubbing his face all over the mesh. And I mean really. He was pushing the mesh a good six inches out from its resting position, causing panic that the velcro may give way. Fortunately, no premature collapse of the mesh occurred, and new data was gathered in terms of useability.
I need to address the fact that he can push the mesh pretty far. I’m leaning towards scrapping the Velcro and just stapling the mesh throughout and using the door and the backing window as a means of extraction if needed. It’s also pretty sparse right now, but I’d like to work on adding some niceties for the feline (a pillow, hideaway box, maybe a hammock).
Speaking of the window, I also want to work on an entry/exit mechanism. Since the mesh openings aren’t as small as window screen, I can’t just leave the window open all the time for him (lest I want lots of creepy crawlies in the house). I’ll ruminate on this and report back.
The lock also overhangs a bit. It’s a small thing, but I’d like to replace it with a smaller one.
Materials Used
- 3x IVAR side unit 20x89”
- 2x IVAR side unit 20x70”
- 9x IVAR shelf 20x33” - use whatever quantity you want
- 2x OBSERVATÖR cross brace
- 1x cabinet handle - from local hardware store
- 1x sliding door latch - from local hardware store
- 3x door hinges - from local hardware store
- 110sq ft of cat safe netting
References
Nick
WOODWORKING · FURNITURE
cat woodworking guides furniture