Send and Receive email with custom domain
Table of Contents
Custom email
Having a custom domain is just the first step, especially if you are looking to start a business or have a more transportable email (the public facing address can be used with different providers over time).
Receiving
Many domain providers allow you to create email aliases and assign behind-the-scenes addresses for incoming mail to forward to. Here are the settings with Cloudflare:
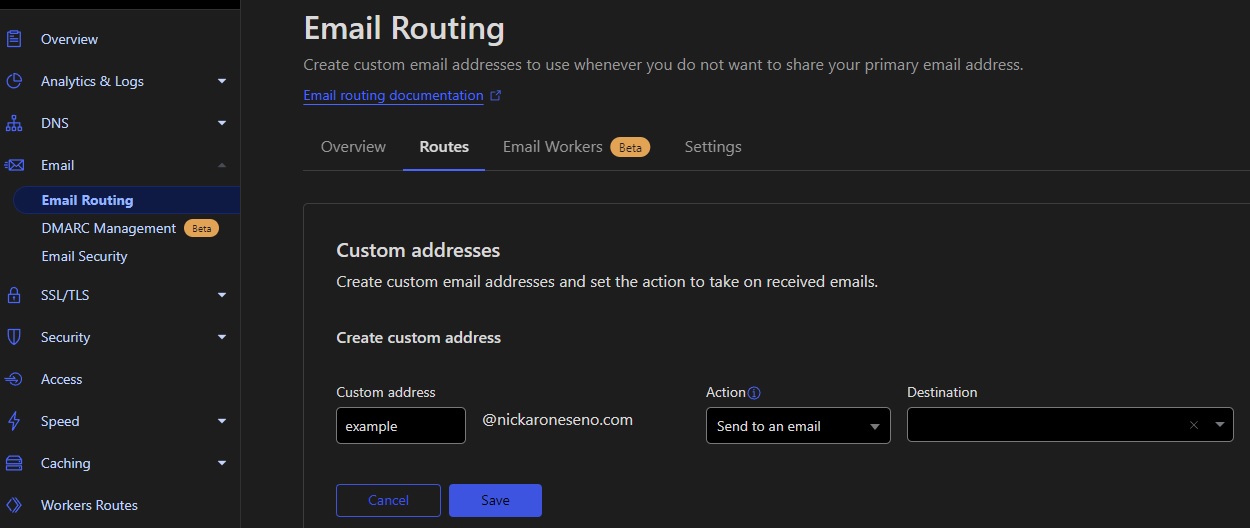
Cloudflare email forwarding.
It’s pretty simple. Create a new address for the domain and assign it to one of the email’s that you’ve added to your account. Nice!
Sending
Sending is a bit more complicated, but not overly so. Here are the steps for Gmail
App password
Before we can even begin configuring the send portion in Gmail’s settings, we need to create a new app password for this specific address to access your Gmail account.
- Manage your account
- Security
- 2 Step Verification
- Scroll down and click on app password
- Give it a name (I recommend the new address you want to use)
- Remember the password it generates. You will need this in the next few steps.
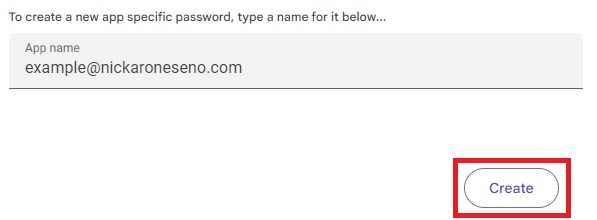
Create an app password.
Update 3/17/2025: I can’t seem to find a dedicated area in the security settings anymore, but this link seems to work: https://myaccount.google.com/apppasswords
Configure Gmail
Go to Gmail, and click Settings, then See all settings. Go the Accounts and Import tab, then click Add another email address about mid-way down the page.
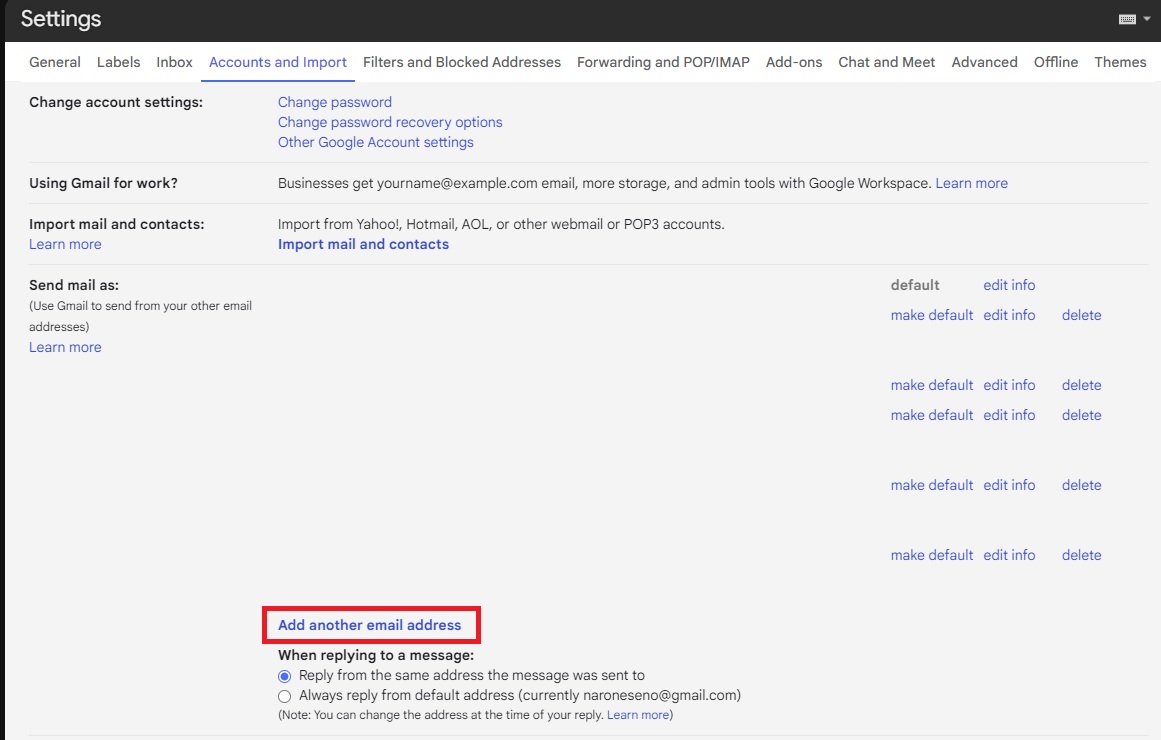
Add another email address.
The next window will ask for a name, which is the display name when you send the email (who is it from) and the address you added on the Receive side. Populate these both, leave the Treat as an alias box checked, then click Next Step.
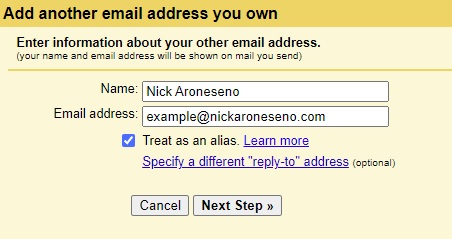
Add your send-as name and new email address.
The final step is to add your mail exchange server (if using gmail, leave as smtp.gmail.com and either port 465 or 587), your Google account username, and the app password you made before. Spaces do not matter. Click Add account and refresh Gmail. You will receive a test email from the server to verify, which should already forward to you - this is why we configure Receive before Send. Confirm the email and that’s it!
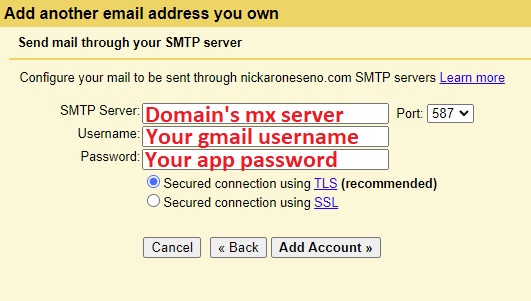
Configure the new address.